

From GearJunkie By Nicole Qualtieri

You can install your own roof rack even if, like me, you have a smooth roof with zero attachment points for a Yakima Roof Rack System. Here’s how it went.
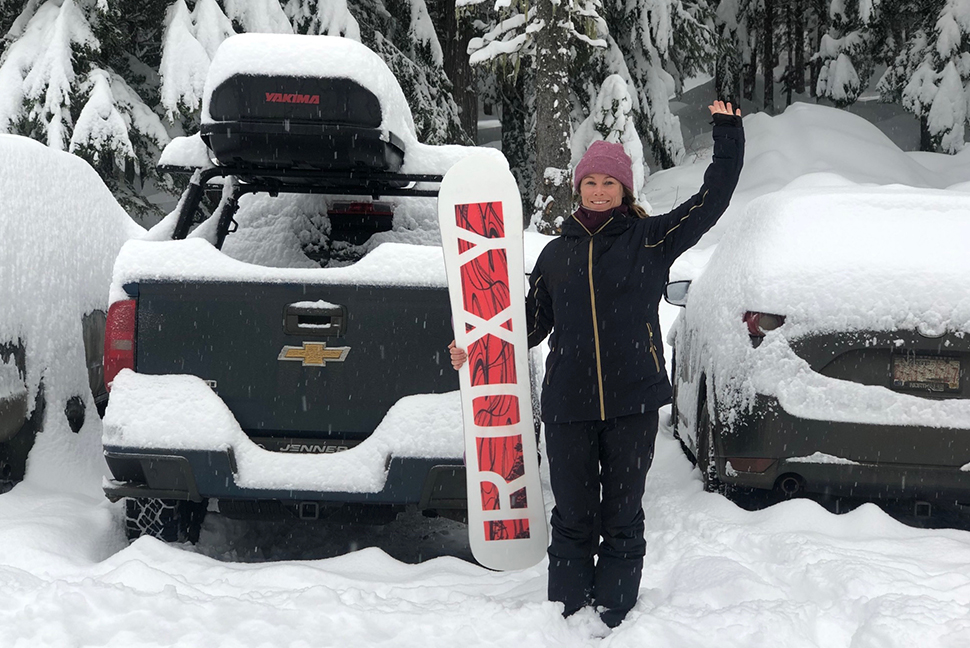
I have two things we need to talk about. The first is the limited size of a Chevrolet Silverado 1500 with a topper. And the second is way too many hobbies. If I were to accurately organize and travel with all my gear — let’s be real here — I’d need a semi-truck with two of those trailers. But that seems unreasonable.
So, I’m currently working on solutions. The first big addition for me is putting a Yakima roof rack with a DoubleHaul fly rod carrier onto my truck topper. The small footprint of the DoubleHaul will also leave room for more storage or carrying solutions should I need them.
It also gives me the option to leave rods strung up for easy fishing when on the road. This is what I’m most excited about.
But I was certainly intimidated when I looked at the smooth top of my truck’s topper. Initially, I thought about getting it done professionally.
After watching a few videos and reminding myself that I’m consistently capable of a lot of strange things, I decided to dig in and try it. After all, I’d only ruin a very expensive truck topper.
Anyway, here’s how I DIY’d my Yakima rack prior to adding my DoubleHaul to the system. Here’s the before pic, and enjoy my instructions.

Installing Your Yakima Rack, Tracks First
The Custom-Fit Yakima SkyLine System
I’ll note that the rack that I installed is the SkyLine system, but most of these instructions will work if you need to install tracks, landing pads, and more for your Yakima rack. Yakima has a few different systems and depending on your specific vehicle, you’ll need the one that fits best.
I will say, this was one of the tougher installations because of the smooth exterior of my topper. But if I can do it, most people can.

I needed the following components to build my custom SkyLine System rack:
- Yakima 60″ Tracks for Custom Fiberglass Installation — There are multiple options for tracks if your rig doesn’t have tracks or built-in rails, side rails, or connection points. Reach out to Yakima to figure out what’s most suitable for your vehicle.
- Yakima Landing Pads — These connect to the tracks in order to create a platform for your rack. One box contains a set of four, which is all you need.
- SkyLine Tower Set of Four — The towers then build the setup for your cross bars. Four are included with the set.
- JetStream Cross Bars — Cross bars make the rack happen.
- Power Drill — With a 1/8-inch drill bit and ¼-inch drill bit.
- Pocket Knife — For cutting rubber. More on this to come.
- Measuring Tape — Really gotta get this stuff (mostly) perfect.
Installing the Tracks
First, I decided that it would be easiest to fully remove the truck topper and work on all of this stuff from the ground. I was mostly right. I don’t like ladders, and I wanted to adjust the fit of my topper anyway. So, I pulled the four clamps and asked for help to get the topper to ground level.
The most nerve-wracking part of laying the tracks is that you must drill holes to make the connections from track to topper. But it’s fairly straightforward.
You simply lay the tracks down, measure with the measuring tape for equidistance on both tracks, and straighten them as much as you can. Use a permanent marker to mark every other hole; there should be six holes in total for each track. Then, you drill each hole with the 1/8-inch bit, followed by opening the hole with the ¼-inch bit.
I was worried I’d get this wrong. But I didn’t. It was pretty easy. You do have to add silicone to the holes prior to installing the screw/washer system, so it can get a bit messy.
Continue reading “Do It Yourself – Install a Yakima Roof Rack Without Attachment Points”


You must be logged in to post a comment.